92 92 93 93 6. Don't forget to `reboot`. 94 94 95 - 96 - ======= 97 - 98 - ??? example "An example of what the config would look like for a server host that can access PiKVM and has internet access (Please edit to suit your needs):" 95 + ??? example "An example of what the config would look like for a server host that can access PiKVM and has internet access:" 99 96 ``` 100 97 otgnet: 101 98 firewall: 111 108 ``` 112 109 113 110 114 - ======= 115 111 ## Working with Windows Computers 116 112 This has been proven to work with Windows: 117 - 1. Set the driver type to `rndis` (see above) 118 - 2. Download this driver on the Windows machine and unzip it somewhere: [https://modclouddownloadprod.blob.core.windows.net/shared/mod-rndis-driver-windows.zip] 119 - 3. Open the devices manager \ 120 - 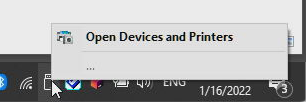 121 - 4. Select `Properties` of the `Composite KVM Device` \ 122 - 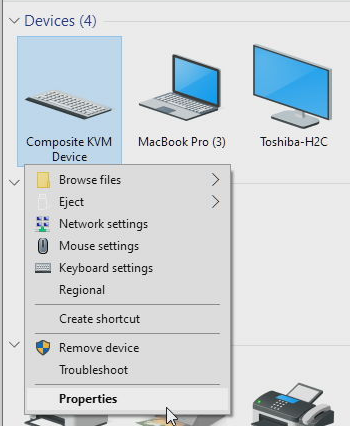 123 - 5. Select the `RNDIS Device` and click properties \ 124 - 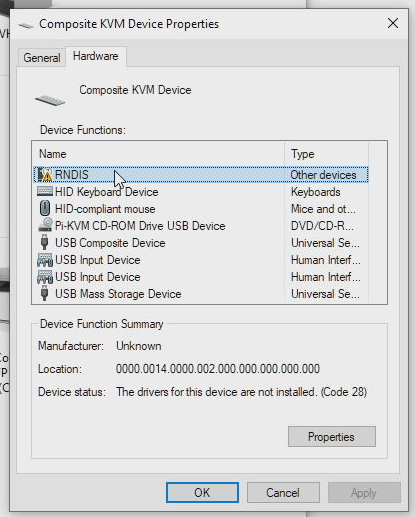 113 + 114 + 1. Set the driver type to `rndis` (see above). 115 + 116 + 2. Download [this driver](https://modclouddownloadprod.blob.core.windows.net/shared/mod-rndis-driver-windows.zip) on the Windows machine and unzip it somewhere. 117 + 118 + 3. Open the devices manager:<br> 119 +  120 + 121 + 4. Select **Properties** of the **Composite KVM Device**:<br> 122 +  123 + 124 + 5. Select the `RNDIS Device` and click properties:<br> 125 +  126 + 125 127 6. Switch to the "Driver" Tab and then click "Update driver" 128 + 126 129 7. Click "Browse my computer for driver software" \ 127 - 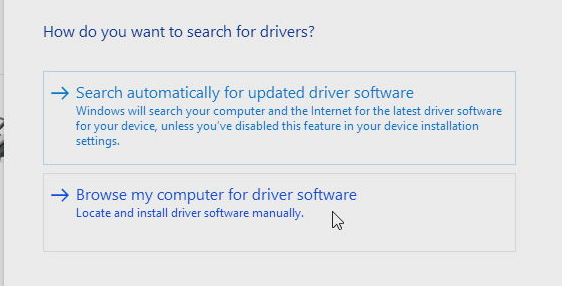 130 +  131 + 128 132 8. Click "Let me pick from a list of available drivers on my Computer" \ 129 - 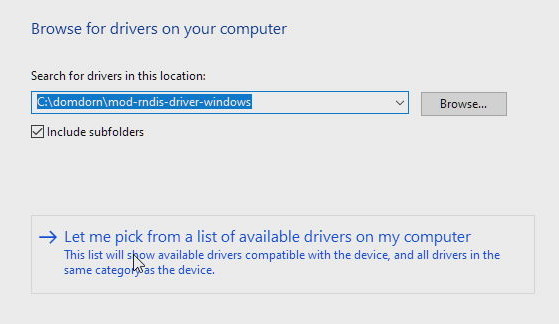 133 +  134 + 130 135 9. From the list of available hardware types, scroll down and select "Network adapters", then click next \ 131 - 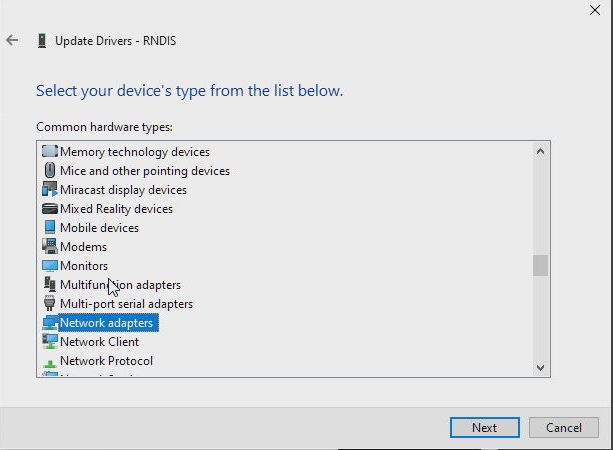 136 +  137 + 132 138 10. Click "Have disk" \ 133 - 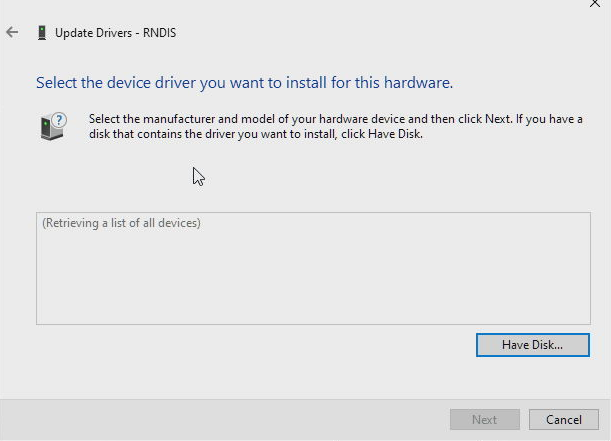 139 +  140 + 134 141 11. Click Browse, navigate to the folder where you've stored the driver and select the `RNDIS.inf`, press Open and then OK \ 135 - 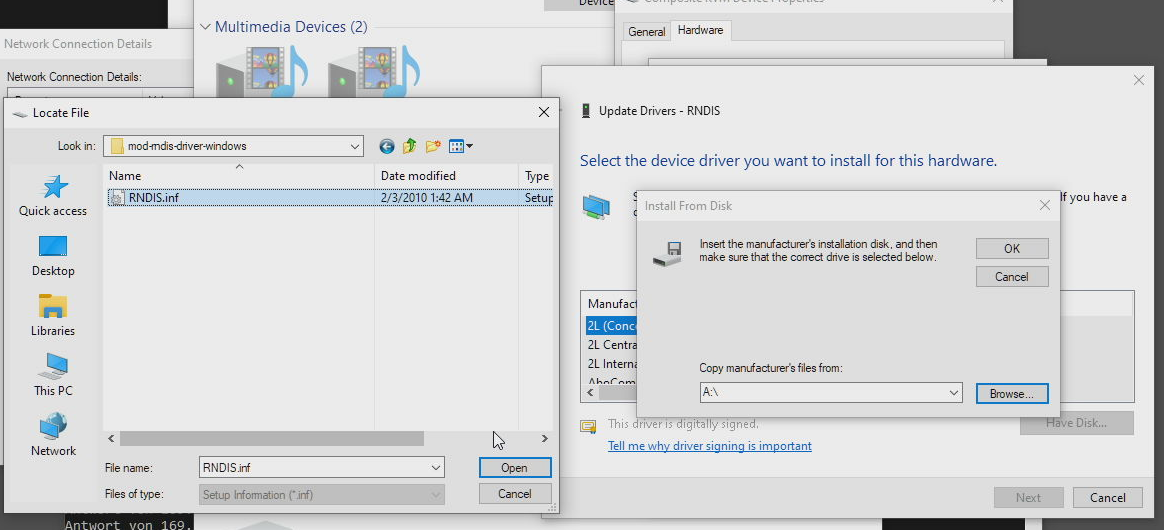 142 +  143 + 136 144 12. Select "Acer Netchip RNDIS/Ethernet Gadget" and click Next \ 137 - 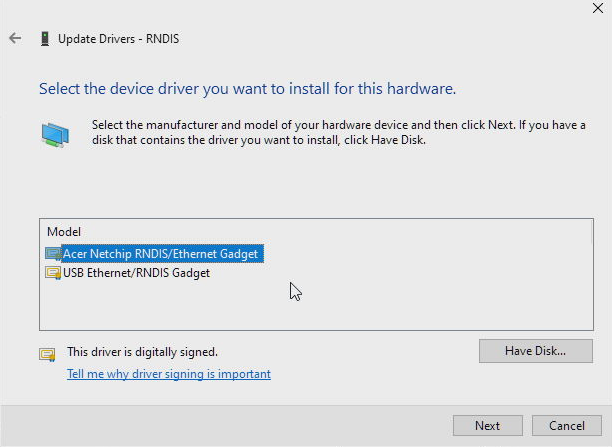 145 +  146 + 138 147 13. Dismiss the warning about non-compatible drivers by clicking "Yes" \ 139 -  148 +  149 + 140 150 14. You're done - the device should now be recognized. \ 141 151 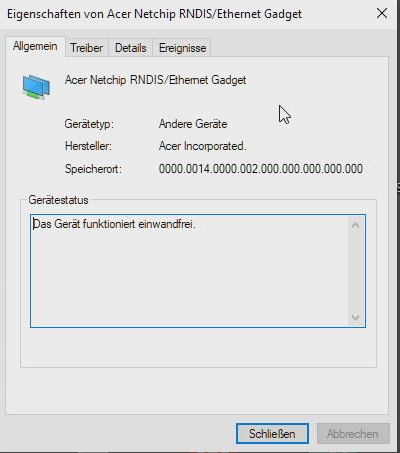 152 + 142 153 15. Verify the card is working by pinging your piKVM in a console: `ping 169.254.0.1` \ 143 154 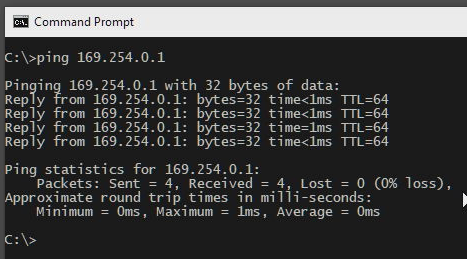 144 155


 Maxim Devaev
committed
1 year ago
1 parent 2c53d096
Maxim Devaev
committed
1 year ago
1 parent 2c53d096